The Opportunities Zone allows you to add the details of sales activities in your business. Opportunities is only available to someone who is either:
- A Metis Administrator
- Someone with a permission level of 1 or 2. See more about permissions here.
In this article:
How do I get to Opportunities?
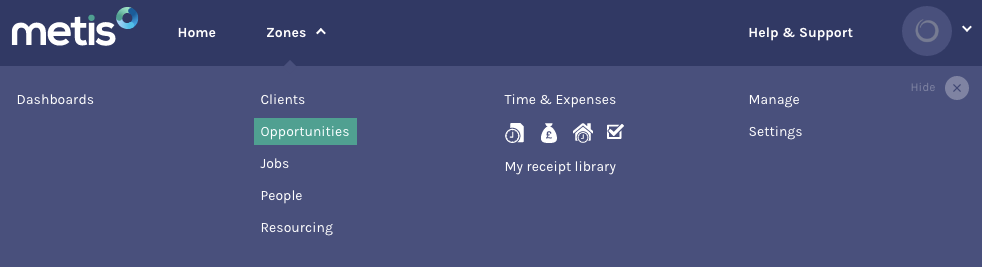
Once there, you'll see a full list of all Opportunities in your business.
Add an Opportunity ► [?]

You'll then see a screen where you can input the basic details of the opportunity.

Fill in all of the fields:
- Select a Client name from the list. If this is a new client then you’ll need to go to Metis’ Clients Zone to add them first.
- Create a unique Opportunity name. Metis won’t let you create a duplicate opportunity name for a client and won’t let you save it unless the name is unique.
- Optionally enter a reference number.
- You can either select an Opportunity lead from a list of existing people - this is who is responsible for the opportunity in Metis.
- If the person you want to be the Opportunity Lead isn't yet set up in Metis, you can add them now by clicking + Invite new person.
- You can optionally add an Opportunity Executive - This is who needs to see the opportunity but not manage it
- The Practice it belongs to
- Select the Pipeline Stage which this opportunity is currently at in its development.
- Select the Probability, relating to the Pipeline Stage. If you cannot edit this value manually, that may be because it has been prohibited by your Metis administrator.
10. Next, you decide the Opportunity Type.


The Opportunity Type is something that cannot be changed after it has been converted to a Job. If you want to change the type before converting, you can do so.
You can also choose to mark this opportunity as Strategic. What's a strategic job/opportunity?
Next you'll see the snapshot around the figures - this is where you enter a value for the opportunity's Revenue and Costs, and define it's duration and expected close date.
11. Add an expected close date for this opportunity (when you expected this to become Closed Won).
12. Define a job duration when the work will take place (if it becomes Closed Won).
To enter the future job's duration, first select the start date on the left calendar, and then the end date on the right calendar. The duration of the job will be highlighted in grey. Typically this should include the period from when you start work to when you finish recognising revenue for the job.

13. Enter Revenue information if you know it for this future job.
14. Enter Cost information if you know it for this future job.
You'll see that Metis has produced a margin based on the values you've entered on the right hand side - you can use this to better price your jobs and guide them through to completion. To see more information about the differences between the different revenue and cost types, click here.
15. Save and Finish or move onto filling in the Resource Plan (if you know it at this stage).

Input a custom Revenue and Cost spread
When you input a total value for each of the categories (People/Time, Expenses and Other) for Revenue and Costs on the previous page, Metis goes ahead and spreads out that total value of each category over the duration of the proposed job (opportunity).
As the opportunity entity has already been created, any edits you make are to an 'existing opportunity'. Once editing an existing opportunity's budget, Metis offers you smart help in spreading the revenue and cost totals out over its duration.
Click here to see how to edit the Budget & Phasing section of an existing job/opportunity. (this is the same method for both)
Add someone provisionally to the Resource Plan
The last part is to assign the team who will work on this opportunity (prospective job) to the Resource Plan. See our article on How to add someone to the resource plan.
Once assigned, this will appear on someone's assignment schedule as a provisional booking. This will be turned into an actual booking (client jobs) when you convert this opportunity to a job.
You can also find out how to set your Resource Plans up specifically with your opportunity/job type in mind. You can do this for:
Didn't find what you need in this article? You can submit a support ticket or send an email to support@getmetis.com.